Before buying a spare chainsaw chain, record the pitch, drive-link gauge, drive-link count, and the approved chain family for the exact saw-and-bar combination. Bar length or saw model alone is not enough to confirm fit.
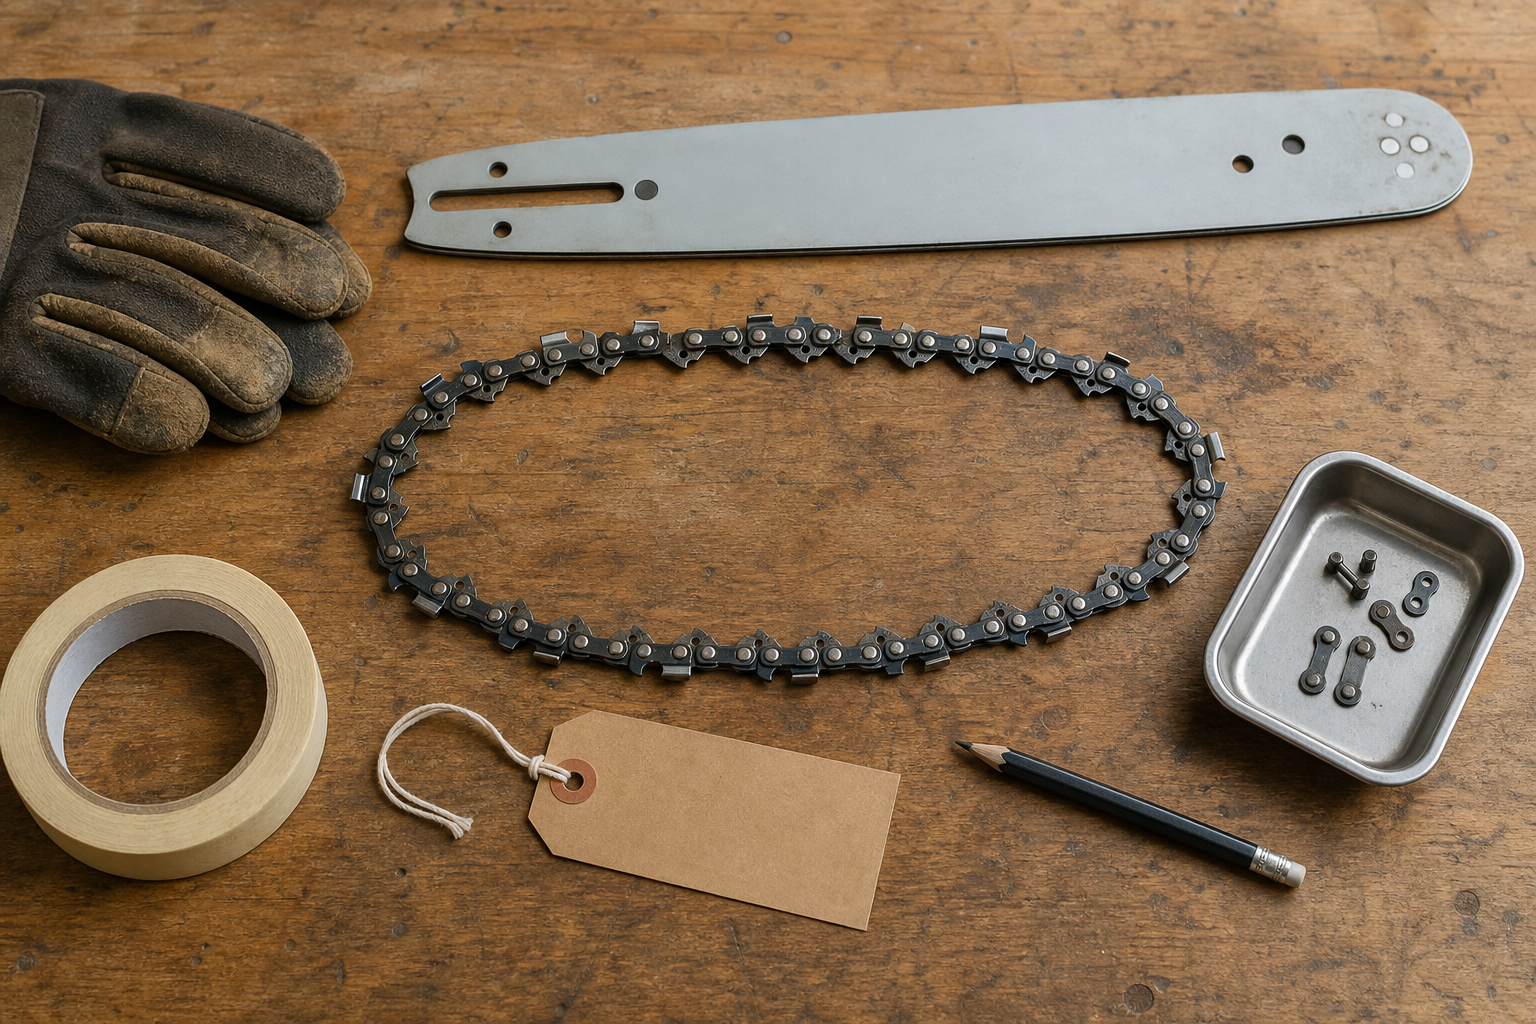
The useful outcome is not “a chain that looks close.” It is a short record you can take to a dealer, use in a manufacturer parts lookup, and attach to the spare loop after purchase.
Make a chain card before opening a shop page
Copy these fields onto a tag or note. Leave a field blank when the evidence is unclear; a blank is safer than a guess.
Saw model: ___
Guide-bar part number: ___
Pitch: ___
Gauge: ___
Drive links: ___
Approved chain family or part number: ___
Source checked and date: ___
Pitch, gauge, and drive-link count describe the loop’s basic fit. The approved chain family covers details that those three numbers do not settle, including the cutter design and any model-specific chain recommendation. STIHL’s chain-care guide identifies pitch, drive-link gauge, drive-link count, and chain length as defining characteristics; it also states that drive-link gauge must match the guide-bar groove.
Use an evidence order, not a tape measure
Start with documentation for the parts actually on the saw. Replacement bars are common, so a factory table for the powerhead may no longer describe the installed cutting attachment.
- Find the exact current saw-and-bar combination. Record the saw model and the guide-bar part number. Check the operator manual or the manufacturer’s parts lookup for that combination.
- Read the bar tail. Clean only enough residue to expose its markings. Photograph the pitch, gauge, drive-link count, and part number if present.
- Read the old loop. Copy the drive-link stamp and chain brand exactly. Decode it only with that manufacturer’s current chart; similar-looking codes are not universal.
- Count drive links when needed. Mark one drive link with tape or a paint marker, count the lower links that travel in the bar groove, then repeat the count in the opposite direction.
- Resolve conflicts before ordering. If the manual, bar, chain stamp, package, or parts lookup disagree, take the saw, bar, and old loop to an authorized dealer.
Husqvarna notes that pitch may be marked on the bar tail, drive link, manual, sprocket, or clutch drum, while gauge may be on the bar, manual, or drive link. Those are evidence locations, not permission to combine unrelated values from different setups. The chain-identification evidence ladder gives a fuller method for an unmarked or inherited saw.
Reject four shortcuts at the counter
“It is a 16-inch chain.” Guide-bar length is not a complete chain identity. Two bars described by the same nominal length can require different drive-link counts, and they may use different pitch or gauge.
“The pitch matches.” Pitch must match the sprocket system, but it does not establish gauge, loop length, or chain family. A pitch-only label leaves three questions open.
“The old chain fits around the bar.” A worn, incorrectly fitted, or unidentified loop is weak evidence. It may have come with a second-hand saw, a replacement bar, or a package that no longer belongs to it.
“I can measure everything with a ruler.” Direct measurement can help a trained person confirm a clean part, but wear and small dimensions make it a poor first choice. Prefer legible markings, an exact manufacturer lookup, an identification gauge, or dealer verification.
Inspect the system before the spare goes on
A correctly labelled spare can still be a bad installation candidate if the parts carrying it are damaged. Disable the saw exactly as its manual directs, let the cutting attachment cool, and wear gloves while handling the stationary chain.
With the cover removed according to the manual, make the bar groove and sprocket area visible. Stop if you find a damaged sprocket, distorted or badly worn rails, a blocked oil route you cannot clear by the manual, a faulty tensioner, or mounting hardware that will not secure correctly. The bar-and-chain maintenance inspection separates cleaning evidence from repair decisions.
Inspect the spare loop before installation as well. Reject it if the package identity does not match the chain card, or if the loop has a cracked, bent, broken, missing, or badly burred component. Do not grind a new chain to make an incompatible loop fit. If the old chain is being kept as a backup, first apply the replace-or-sharpen criteria and label its condition clearly.
Give each spare a service record
Keep the package label or photograph it. Transfer the chain part number and fit fields to a durable tag, then add the saw and bar it belongs to. If one workshop has two similar saws, use a separate container or tag color for each verified cutting attachment rather than relying on memory.
Record whether the loop is new, ready after inspection, needs sharpening, or out of service. Do not put a damaged chain back into a container marked “spare.” Store the loop clean and protected from moisture in the manner specified by its maker, away from children and unauthorized users.
For serviceable spare loops maintained at a fixed bench, the live KonKell 230W electric chainsaw sharpener lists support for 1/4-inch, .325-inch, 3/8-inch, and .404-inch pitch chains. That range can suit a workshop handling several positively identified loops, but it does not confirm replacement-chain fit or select the correct wheel and settings; verify those details against the exact chain documentation before grinding.
The purchase decision in one pass
Buy only when all six statements are true:
- the saw model and installed guide bar are identified;
- pitch matches the chain, drive sprocket, and bar-nose sprocket;
- drive-link gauge matches the bar groove;
- drive-link count matches the exact bar-and-saw combination;
- the chain family or part number is approved for that setup;
- the bar, sprocket, tensioner, lubrication route, and mounting parts are fit for installation.
If one statement remains unresolved, pause the order. Bring the chain card, bar photograph, manual information, and old loop to a servicing dealer. That is faster than discovering at installation that a plausible chain will not tension, binds in the groove, or does not match the drive system.